
Breaking in new pool plaster can feel confusing when advice about brushing, water chemistry, and equipment conflicts. You may be watching for stains, rough spots, or uneven color while trying to work out which instructions apply to your pool. The safest starting point is the written startup plan for the finish installed, not a routine copied from another pool.
Startup is the initial period of filling, circulation, water care, and observation. Following the project-specific sequence helps you care for the new surface while tracking what is happening in the pool. The finish, materials, and project instructions determine the appropriate steps, so use your pool professional’s directions rather than a one-size-fits-all checklist.
This guide explains why startup matters, what to monitor, and how to keep useful records without guessing at chemical doses. You’ll learn how to document test results and brushing, spot changes worth reporting, and avoid common mistakes. With a clear plan and steady care, you can make informed decisions as the finish settles in.
Key Takeaways
- Breaking in new pool plaster is a guided startup period, not a one-size-fits-all routine.
- Use the written instructions for your specific finish and project to guide filling, circulation, brushing, and water care.
- Keep a simple log of test results, brushing, equipment settings, and changes in the water or surface.
- Pause before adding chemicals or changing equipment settings if the instructions don’t clearly cover the step.
- Know which observations are routine and which changes deserve timely discussion with your pool professional.
Breaking in new pool plaster: why the first startup matters
Pool plaster startup is the initial fill, circulation, water-care, and observation period that helps a fresh finish settle into service. It differs from routine pool maintenance, which focuses on caring for an established pool over time. During startup, the water and new cement-based surface meet for the first time. Following a deliberate, project-specific sequence helps you manage that transition and notice changes early.
Breaking in new pool plaster isn’t about applying one universal chemical recipe. It means following the care steps set out for your pool and maintaining the water conditions specified for its new finish. Timing and tasks can vary with the finish, materials, and project instructions. A calm, consistent approach helps you track progress without making changes based on advice intended for a different installation.
What happens during the first days after plastering?
After plaster work is complete, the pool moves into the steps specified by the builder. These may include filling, starting circulation, testing the water, and observing the surface. The exact sequence and timing depend on the project, so follow the written instructions instead of assuming every pool follows the same calendar.
Fresh plaster needs consistent attention while its startup protocol is underway. A missed instruction or an unrecorded change can make it harder to determine what the pool needs next. Keep the builder’s sequence somewhere accessible, note when each task is completed, and record observations as they happen. A dated record gives you a clear history if a reading or surface change raises a question.
Why plaster type and project instructions matter
Pool finishes aren’t all alike. Conventional plaster and finishes that incorporate exposed aggregates can differ in composition and surface characteristics, so care recommendations for one type shouldn’t automatically be applied to another. General background on plaster as a building material can help explain the material, but it can’t replace instructions written for your specific pool finish.
The applicator’s written protocol should take precedence over generic online schedules. It reflects the materials used and the sequence of work completed on your pool. If advice you find elsewhere conflicts with those directions, don’t combine the approaches or improvise a compromise. Compare the instructions, note the point of conflict, and ask the professional responsible for the work which direction applies.
The finish is part of a larger construction system: the shell, selected surface, tile, and surrounding design all contribute to the completed pool. White’s Pools’ perspective on custom concrete pool construction and design puts the finish in that broader context. For startup, identify the exact finish installed, follow its written care sequence, and record what you observe rather than relying on another pool’s routine.
How to start up new pool plaster without guessing
A clear sequence makes startup easier to manage and keeps conflicting advice from turning into an improvised routine. The applicator’s written startup protocol governs project-specific steps. Use it as your reference for filling, circulation, testing, and initial adjustments. Water source and project conditions can affect the directions, so a schedule used for another pool may not suit yours.
Before filling: get the right instructions in writing
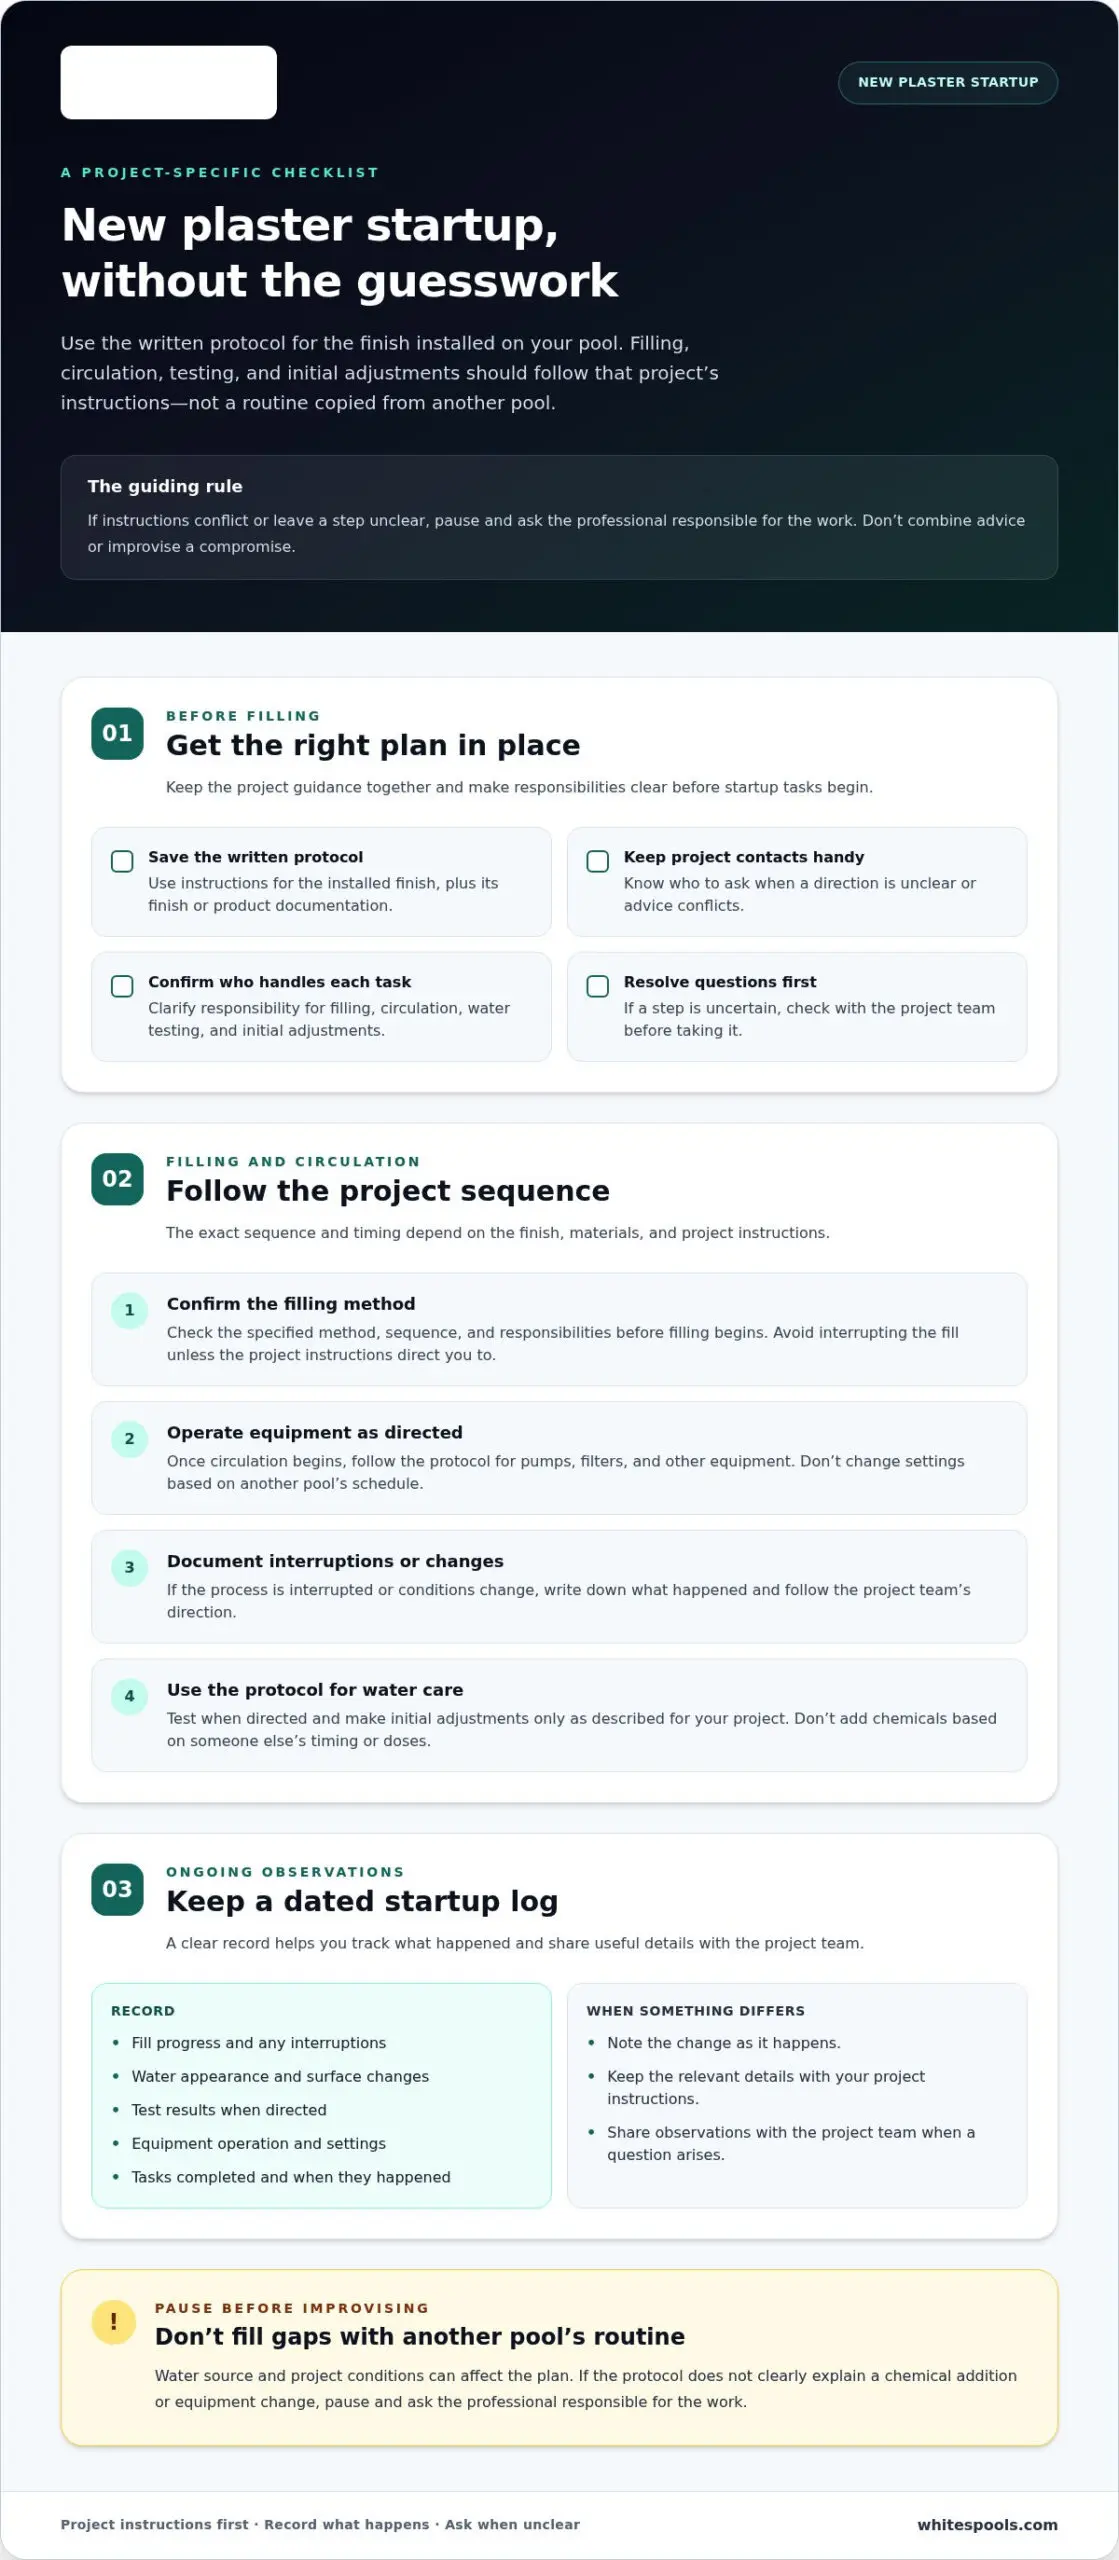
Before the plaster work is complete, get the startup sheet for the installed finish and establish who is handling each task. Keep the instructions, finish or product documentation, and project contact details together so you can refer to the same guidance throughout startup.
Confirm who is responsible for filling, starting circulation, testing water, and making initial adjustments. If tasks are shared, write down who is doing what and when. This prevents gaps, such as assuming someone else will check the water or manage equipment. Resolve unclear instructions with the project team before taking the step.
During filling and initial circulation
Follow the specified fill method and avoid interrupting it unless the project instructions direct you to do so. Once circulation begins, operate pumps, filters, and other equipment as the protocol describes. Record progress, interruptions, and changes as they happen. These details are more useful than relying on memory when discussing the pool with the project team.
- Obtain the protocol. Save the written instructions for the installed finish and note the project contact for questions. Don’t substitute a generic startup chart for directions prepared for your pool.
- Confirm filling instructions. Check the specified method, sequence, and responsibilities before filling begins. If the process is interrupted or conditions change, document what happened and follow the project team’s direction.
- Circulate as directed. Use the equipment settings and operating sequence in the protocol. Don’t turn equipment on or off, or change a setting, because another pool owner followed a different schedule.
- Record observations. Keep a dated log of fill progress, water appearance, test results when directed, equipment operation, and any changes. Share relevant details with the project team if something differs from the expected instructions.
Resist adding chemicals based on someone else’s timing or doses. Water source and project-specific conditions can affect the plan, and a treatment that suited another pool may not fit this finish or startup stage. If the protocol doesn’t clearly explain a chemical addition or equipment adjustment, pause and ask the project professional for direction rather than guessing.
Careful records also make ongoing pool care easier once the initial startup protocol is complete. White’s Pools provides pool cleaning and maintenance to support routine upkeep and equipment care. Learn more about pool cleaning and maintenance.
Water balance and brushing: what to monitor during plaster startup
Water readings and surface observations are most useful when considered together. Water balance matters because pool water interacts directly with the fresh cement-based finish, and changing conditions may affect how that surface settles. The appropriate readings, testing intervals, and responses depend on the finish and project instructions. Don’t borrow another pool’s targets or chemical schedule.
Testing shows what the water is doing, documentation shows how conditions change, and your pool professional can interpret what those details mean for this finish. Keep the startup protocol beside your records and follow its directions before making adjustments.
Testing and recording water conditions
Test at the intervals specified in the plaster startup instructions, using the method directed for your project. Write down the date and time, each reading, and any chemical addition authorized by the project professional. A log can show whether a reading is changing and give the project team useful context if you need to discuss it.
Record what you actually observe, not what you expect to see. For example, note a change in water clarity or the appearance of material in the water, including where and when you noticed it. Don’t use a target range or dosing plan copied from an unrelated pool as a substitute for project-specific guidance.
Brushing the fresh surface as directed
Brushing may be part of the startup protocol, but the applicator’s instructions determine when to begin, how often to brush, and which tool to use. Follow that schedule rather than a frequency found online. Use the directed brush and carefully cover the areas specified. Keep track of completed sections so you can follow the protocol consistently.
As you brush, watch for areas that look different from the surrounding surface. Record their location and appearance, then share those observations with the project team. Don’t try a different tool or change your technique to address an unfamiliar mark unless the professional directs you to do so.
| What to track | What to record | When to seek professional direction |
|---|---|---|
| Water readings | Results, date and time, and test method | A result outside the written protocol or one you’re unsure how to interpret |
| Water and surface appearance | Clarity, visible material, and the location of any unusual-looking area | A new or changing appearance, or anything the instructions identify for follow-up |
| Brushing and additions | Areas brushed, tool used, and any directed chemical additions | Uncertainty about timing, tools, technique, or whether an action is appropriate |
During breaking in new pool plaster, a dated record helps connect readings and observations to the actions taken. Keep notes factual: include what you saw, when you saw it, and what you did. If you’re unsure what a result or surface change calls for, share the log with the project professional before making an unapproved adjustment.
Common new-plaster startup mistakes and how to avoid them
Many startup mistakes begin with a reasonable impulse: a homeowner sees clear advice and wants to protect the finish. The risk is applying steps intended for a different pool. Finish products, fill water, equipment, and project conditions can all shape the recommended routine. During breaking in new pool plaster, use the written, finish-specific protocol rather than a schedule copied from another pool.
- Adding chemicals too soon: Follow the project instructions for what to add and when. Don’t use another pool’s dosing schedule or add a product just because a reading seems unfamiliar.
- Changing equipment settings: Avoid adjusting pumps, filters, heaters, or other equipment unless the protocol directs you to do so.
- Skipping observations: Without dated notes, it can be difficult to explain when a change appeared or how it developed.
- Trying to diagnose appearance alone: A color difference, mark, or deposit is an observation, not proof of a particular cause.
Why online startup schedules can conflict
Startup guidance may differ because pools have different finishes, fill-water conditions, and project instructions. An online schedule can offer context, but it can’t account for every detail of your installation. If it conflicts with the written protocol, don’t blend the routines or make a quick adjustment. Share the conflicting directions with the project professional and get guidance before changing the plan.
This matters especially when advice recommends a chemical addition, a different testing schedule, or an equipment change. Note what your protocol says and what the other source recommends, then ask which instruction applies to your pool. A specific question makes it easier to get a useful answer without making an unapproved change in the meantime.
When a surface change deserves a closer look
If you notice a change in color, texture, or visible deposits, take a dated photo from a consistent angle. Note where it appears, when you first saw it, and whether it changes. Describe what you observe plainly. Don’t label it normal or defective based on appearance alone, and don’t attempt a correction until the project team has considered the details.
Share a concern promptly with the builder or plaster applicator, especially if the appearance is changing or you’re unsure whether to continue a startup task. Include relevant water readings, brushing notes, and any recent actions to provide context. Clear records can support an informed discussion, but they don’t replace project-specific assessment.
A measured response is better than a rushed fix. Continue following the written instructions while you document the concern, unless the project professional gives you different direction. White’s Pools provides pool cleaning and maintenance for ongoing care after startup. Learn about White’s Pools’ pool cleaning and maintenance services.
A practical new-plaster checklist and when to call your pool professional
A simple log turns startup instructions into a routine you can follow and gives the project team useful context if a concern comes up. During breaking in new pool plaster, use the checklist below alongside the written protocol for your finish. It’s a recordkeeping tool, not a substitute for project-specific directions or professional interpretation.
Keep a simple plaster startup log
Keep the log, plaster product instructions, and project contact details together. Use a notebook or digital document, and make entries as tasks are completed rather than relying on memory later. Care instructions can vary by finish, so apply them to the pool surface specified in your project documents. For example, luxury plunge pool planning may involve a plastered finish, but follow the care guidance for the finish actually installed.
- Instructions: Keep the startup protocol and product documentation available for reference.
- Dates and readings: Record when tests are taken and the results, following the schedule in your instructions.
- Chemical additions: Note any additions directed by the project professional, including when they were made.
- Brushing: Record when you brushed, the areas covered, and the tool used as directed.
- Equipment: Note operating settings, changes, interruptions, or unusual operation.
- Observations: Describe water appearance and surface changes, with dated photos when useful.
Know when to contact the project team
Some entries are routine: a test result, a completed brushing task, or a photo showing the surface at a particular stage. Other situations call for timely discussion with the builder or plaster applicator. Contact them if instructions conflict, a required step is unclear, or a surface change concerns you or continues to develop. Changes in color, texture, or deposits are observations, not diagnoses, so share the details instead of attempting an unapproved fix.
Make the conversation specific. Include when you first noticed the change, where it appears, whether it seems to be changing, and any related readings or recent actions. Dated photos and a concise log can help the project professional understand what you’re seeing and advise on the appropriate next step. If you’re unsure whether to continue a task while waiting for direction, refer to the written protocol and communicate that question clearly.
The initial startup protocol eventually gives way to ongoing pool cleaning and maintenance. The pool still needs consistent care after that transition, guided by its surface and the instructions for its equipment and water. White’s Pools builds custom concrete pools and provides pool cleaning and maintenance. To explore White’s Pools’ pool construction and care, visit the company’s website.
Carry your pool care forward with confidence
The end of startup is the beginning of a longer relationship with your pool. Keep the project instructions accessible as you move into regular care, and continue to pay attention to changes rather than relying on assumptions. If a question comes up, clear records can help you discuss it with the professional familiar with your project.
Breaking in new pool plaster is one stage in caring for the finish you’ve chosen. Thoughtful planning for ongoing pool care helps you make informed decisions as your needs change, whether you’re maintaining an existing pool or considering a new custom design.
White’s Pools builds custom concrete pools and provides pool cleaning and maintenance. Explore White’s Pools’ custom pool construction and care as you plan the next step for your pool.
With steady attention and the right guidance, you can enjoy the finished space with confidence.
Frequently Asked Questions
How long does it take for new pool plaster to cure?
There isn’t one curing timeline that applies to every plaster product and project. The written instructions from your plaster applicator account for the finish and job conditions, so use them to understand the startup period and when its tasks are complete. A general schedule found online may describe a different installation. If your instructions don’t say whether a step is finished, ask the project team before changing the routine.
Can you swim in a pool while the plaster is curing?
Swim only when the builder or plaster applicator’s written guidance says the pool is ready for use. Clear water alone doesn’t confirm that swimming is appropriate, since readiness depends on the finish and the pool’s startup stage. Until the project team gives the go-ahead, keep children and pets out of the pool. If you’re unsure whether a planned activity is allowed, get project-specific direction first.
What causes new pool plaster to look mottled or uneven?
Appearance alone can’t identify why fresh plaster looks mottled or uneven, or determine whether a variation needs attention. Finish characteristics, water conditions, and project details may all be relevant. Photograph the area in consistent lighting, note when you first saw it, and describe its location. Share those details with the builder or plaster applicator. Don’t try to correct the appearance with an unapproved chemical treatment.
Should a salt chlorine generator be used during new plaster startup?
Use a salt chlorine generator only according to the startup and commissioning instructions for your pool. Its presence doesn’t mean it should be switched on during every stage of startup, and another owner’s schedule may not apply to your system. Check the written directions for when operation should begin. Before adding salt or changing equipment settings, ask the project professional if the instructions don’t clearly address the step.
Can I use my usual pool chemicals on fresh plaster?
Don’t assume your regular maintenance dose is suitable for fresh plaster. Startup instructions should identify which products to use, when to use them, and how to test the water. Follow that project-specific guidance and record any directed additions. For example, don’t add a routine weekly treatment simply because it’s due on your usual schedule. If a product or dose isn’t clear, pause and ask the project team.
What should I do if I missed a brushing or water-testing session?
Record which task you missed and when, then ask the project team how to resume the routine. Don’t try to make up for missed testing with an extra chemical dose, or compensate for missed brushing by scrubbing harder, unless you’re specifically directed to do so. If the interruption was substantial or you notice a surface change, share the timeline and any recent readings with the builder or plaster applicator.

